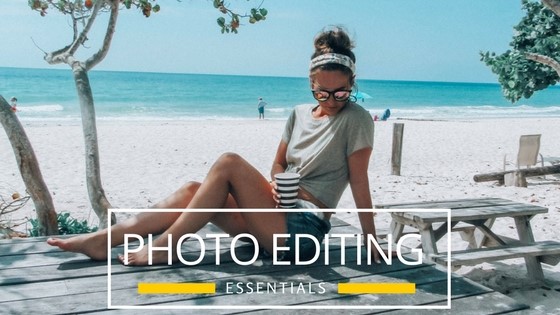
Another question that I get a lot and when I took a poll almost 75% of you wanted to know how I edit my photos. I’m sorry its taken me so long but with a cracked rib and preparing for my sisters bacheloreette festivities this past weekend, I had to put it on hold.
I just recently changed my Instagram look. As most of you know, to attract more followers and brands its best if your Instagram profile looks cohesive. When a new follower goes on your profile, you have about 10 seconds to attract them & make them want to follow you. If your profile account is easy on the eye and most photos flow together, you will gain more followers.
When I first started I was doing things like adding quotes to separate my pictures so that it breaks it up. After a while I stopped doing then and learned about VSCO filters. This is a free photo editing app that is loaded with filters. Most bloggers when starting out, use this. To keep your profile unified all you do is pick 1-3 very similar filters and only use those for your photos, this way they blend together. Some of my favorites from this app are A6, A7, A8 and A9 but you can mess around until you find the one that fits your personality and profile and stick to it.
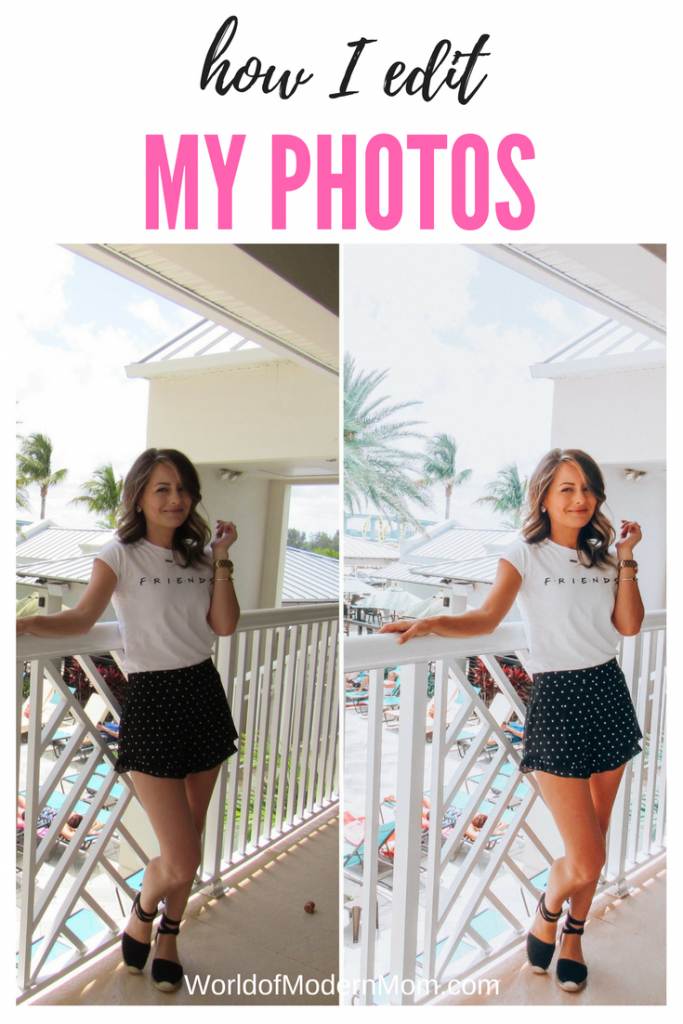
In the last couple months I learned about presets. At first, I didn’t know what this was and had to look it up. Preset are filters that photographers create and sell to their customers. You can find some basic preset for free on Pinterest and a lot for sale that vary in price.
I learned about the one I am using from one of my favorite bloggers, she inspires me everyday!! @ellabrooksblog. She wrote a blog on how she edits her photos and that’s how I found mine. My preset is from @meg_legs, she has one of the most beautiful Instagram profiles I have seen and you can purchase the preset right from her link on her profile or click here. Now presets can be pricey, but its an investment in your business. My preset cost $110 but came with 5 different ones. I played around with all of them until I found the one that fits my style and profile best. The one I use is the MegLegs3.
So, here is my photo editing routine. I usually use my Canon camera to take most of the photos. I have noticed that the quality and colors will be better than if I take the photo with my phone, but sometimes I use my phone and add the preset when I don’t have my camera on me. After I load the photo in Lightroom (which is the Adobe Photo Editing app, and you need this in order to use any preset you download) all I do is add the preset and ready to post! Rarely, I mess around with the colors, only to either tone down the colors or the opposite. Usually that’s all the editing I do to my photos. Sometimes I might use Snapseed (another photo editing app) just for minor fixes. Works best for healing, like if theirs a spot you want to get rid of, or if you need to brush in some color in certain spots.
If at this time you don’t want to spend money on a preset, I really recommend using VSCO and picking a filter and sticking to it, you will see a difference in your Instagram profile when you have up to 6 photos loaded.
And, that is how I edit my photos.
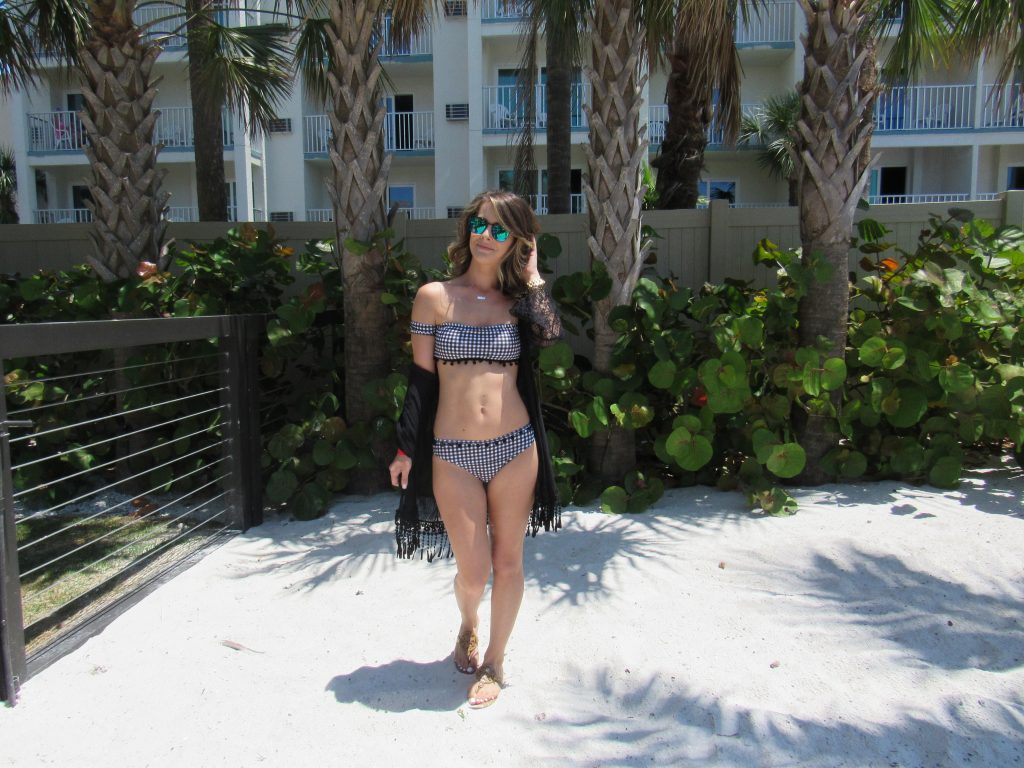
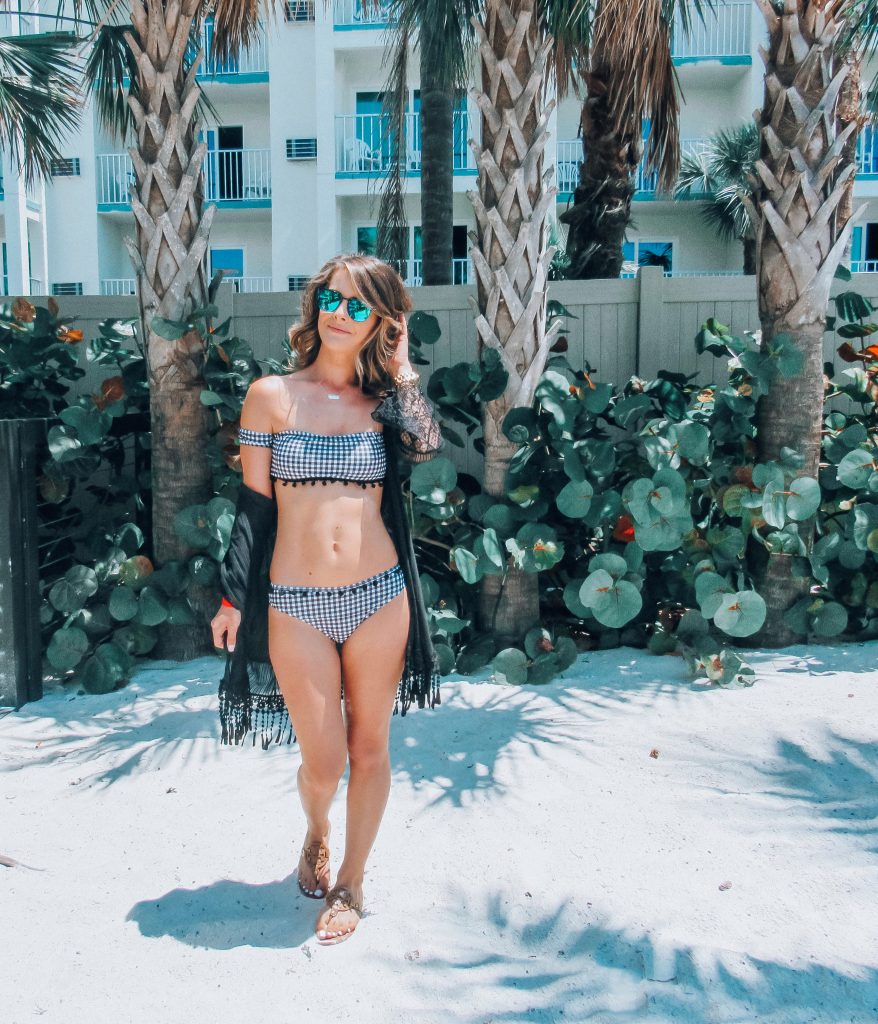
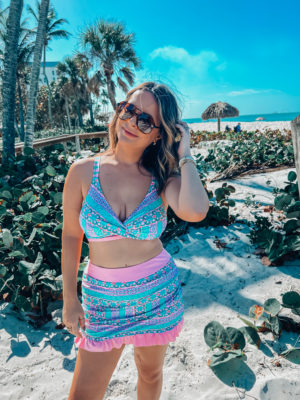
For the picture above, all I did was add the preset and cropped the photo and it was ready to post.
P.S. The preset usually is added on your desktop Lightroom app but there is a way to do it from your phone. That is, the app and desktop app sync up, so anything you add to your computer app will sync to your lighroom phone app, at that point after the preset is added you can copy the setting and add it to a new photo right from your phone without having to edit it on your desktop computer.
Hope this answered all your questions on how I edit my photos for my Instagram profile.
-WorldofModernMom


![My favorite place to be … in the kitchen making yummy treats with my BIG GIRL! 🍿😋 [ad] We had sooo much fun making these yummy Marshmallow Popcorn Balls with @jollytimepopcorn ! If you’re looking for the recipe I have it on a reel a few post back. Make sure to grab #jollytime popcorn at your local supermarket 🤍 #JollyTimePopcorn #OfficialSnackOfHappiness #snackideas #cookingwithlove #cookingwithkids #recipeideas #ltkfamily #ltkinfluencer #ltkkids #naplesfl #swfl #momsofinstagram #explorerpa...](https://i.pinimg.com/564x/d6/ae/d2/d6aed2fe47152969d491ac59bf38c142.jpg)